I don't usually go into the nitty-gritty details of things like pinning a kit together or how the pins are placed but, what the heck, maybe someone can use this information...
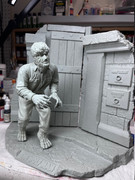
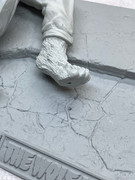
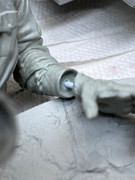
The vast majority of the pins are made from a very rigid clothes hanger but for the foot I've drilled a hole in the base and foot at an angle to match the bend in the foot.
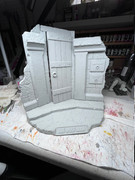
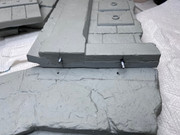
The walls, door and lintel will be pinned and glued together with an epoxy glue. The figure will be pinned and glued together but will be removable from the base, held there by a screw.
I'm thinking of making the entire walls/door/lintel section removable but that's still just an idea right now.
For the figure placement - I placed the figure on the base, drew an outline around the feet, selected a spot for the hole and drilled down into the base at an angle matching the bend in the foot. I then placed the figure back on the base holding it firmly and drilled UP through the hole in the floor and into the foot so the angle would match.
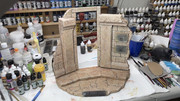
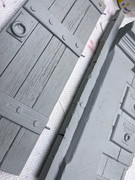
 Pinning the base
 - After placing the crypt wall sections on the base I drew an outline of their placement and then made marks on the walls and floor where the pins should go. I then measured the width of the outline and wall sections and made the final adjustment to drill the holes for the pins.
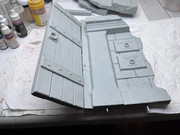
I did the same thing on the door and the door jamb.
After locating pin placement the pins were bent so the door would hang in an open position.
Torso bottom filled with Aves because it was cast concave and needed filler to sit flush on legs.
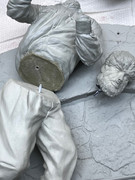
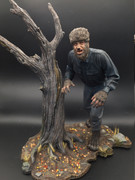
 You might notice some black paint on the pin for the head
 - For the head, hands and torso alignment I drilled an initial hole, inserted a short pin, put a dab of black paint on the tip of the pin and dry-assembled the parts. When I pulled the pieces apart I had an exact location for the next hole for the final pin placement.