Toothbrush Sander How-To
Posted: November 12th, 2007, 11:16 pm
Well, first of all, my stockbroker would like to thank all of you who purchased Oral B toothbrushes today!  Seems that the toothbrush sander struck a chord with you guys, and Tom asked if I'd cross post it here and in the Sculpting forum for maximum exposure.
For those who have no idea what I'm talking about, you can see the initial WIP thread HERE.
Before I get started, I'd like to say that this was not my original idea. I learned it by looking at the pictures in a Japanese figure magazine called Replicant. I can, however, say that I modified the construction technique to fit the resources I had at hand and also to fit my particular workflow.
For my homemade sander, I bought an Oral B rechargeable toothbrush at Target for about twelve bucks, and a package of two additional heads for about five bucks. This is what the finished sander looks like, along with a set of replacement heads that I am going to use in this How To.
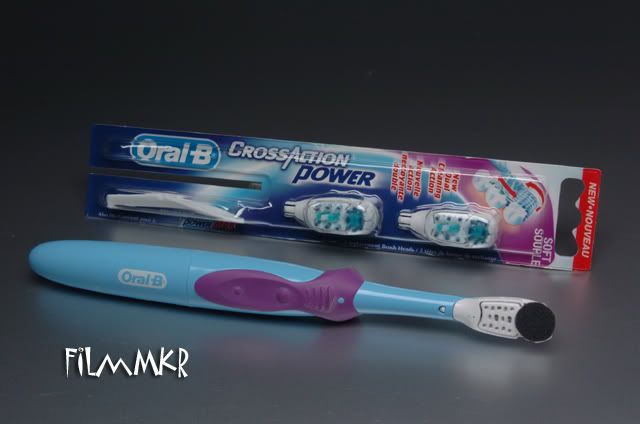
You can use any kind of cheap electric toothbrush actually - you aren't limited to just Oral B! Just be sure that it is 1) inexpensive, and 2) rechargeable (batteries get expensive and defeat the whole purpose of point 1!)
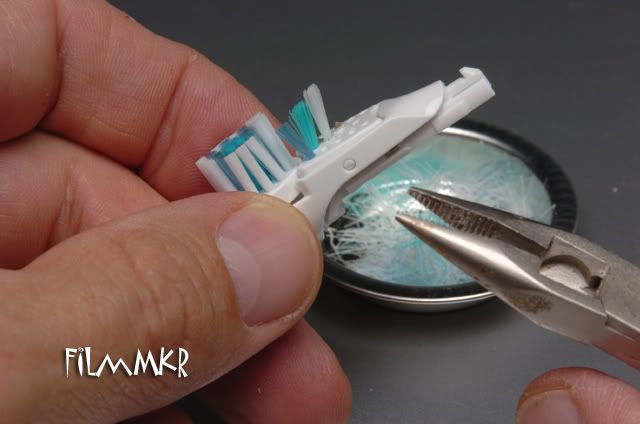
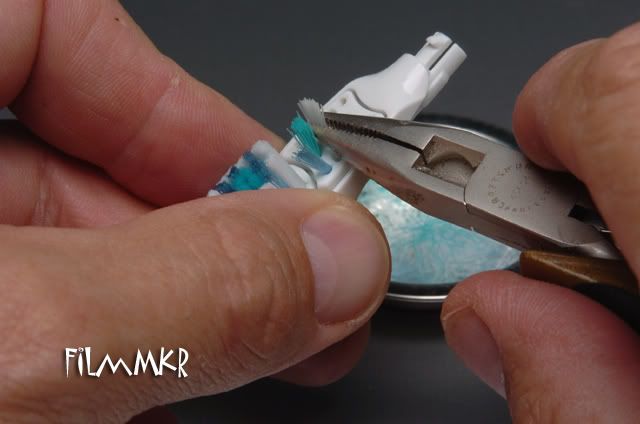
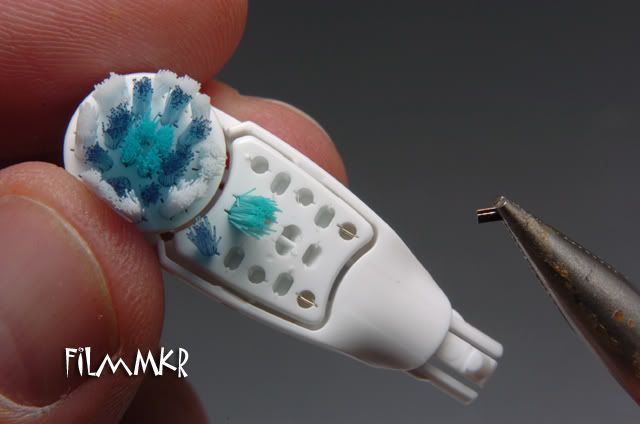
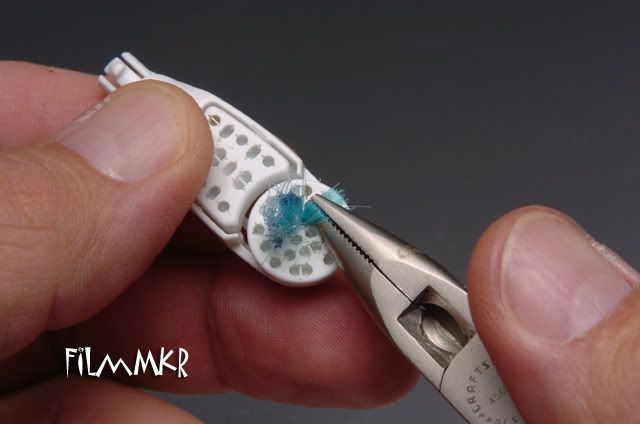
To begin, take a pair of needlenose pliers and pull out all of the bristles on the toothbrush head. Note that the bristles are in clumps - slide your pliers in between a set of clumps, grasp firmly, and rotate the pliers around an axis perpendicular to the bristle stalk - don't pull or the nylon bristles will slide out and you'll say a bunch of dirty words.
For the pack rats among us (you know who you are!), you can save the bristle stalks for future use. When painted they could make clumps of grass for that badass diorama, or individually as eyelashes for your ultra-detailed figure kits!
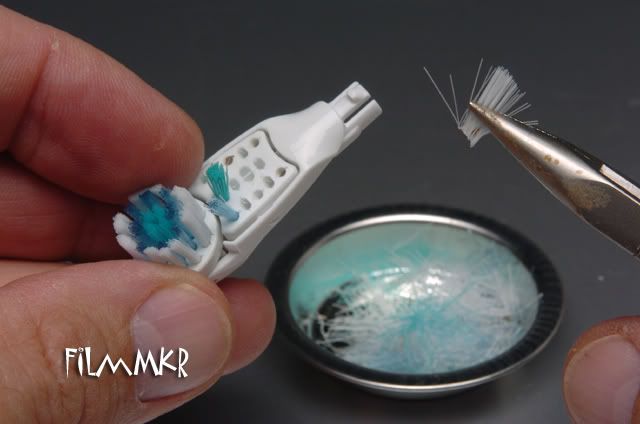
The bristles are held in place with these little metal inserts, which are pushed down into the holes and can make the bristles very difficult to remove. The white ones come out fairly easily, the blue ones are moderately easy, and the turqoise ones are a b*tch! This will take a while, so don't get frustrated if it doesn't happen in five minutes. Note that you do NOT have to remove the inserts (unless you want to, of course!)
Eventually you'll see the light at the end of the tunnel.
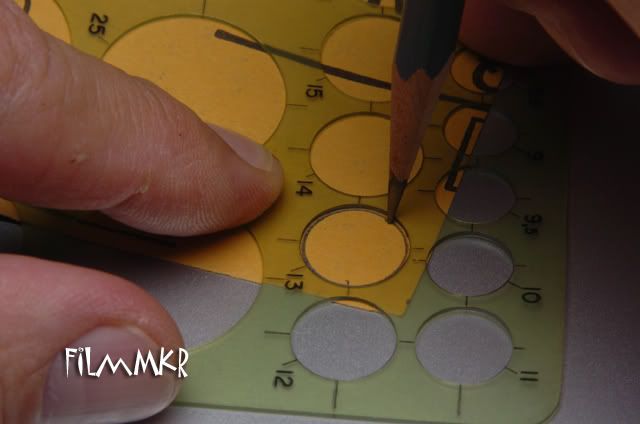
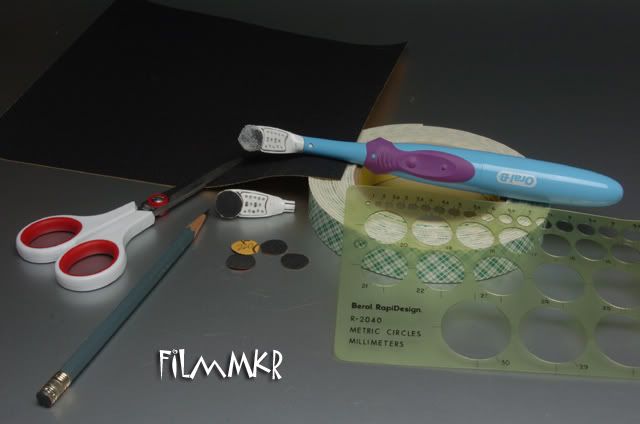
Cut out several discs of varying grits of sandpaper using a circle template sized to fit the round part of the toothbrush head. Since I use different grits, I label the discs so that I know what I'm using.
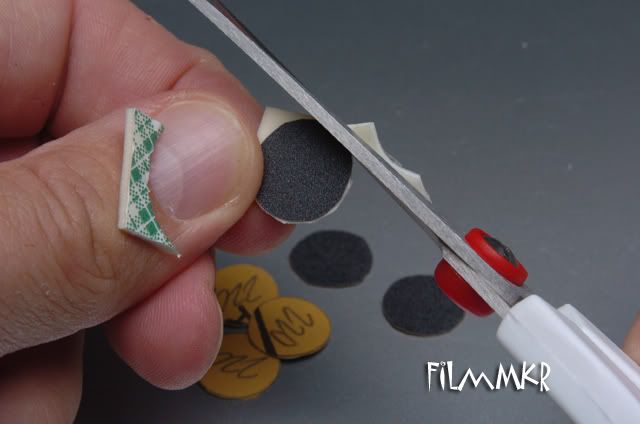
Stick one of the discs to a piece of foam tape (I use 3M foam tape for everything, including sticking parts to skewers and chopsticks for painting!) and cut around the circumference of the disc:
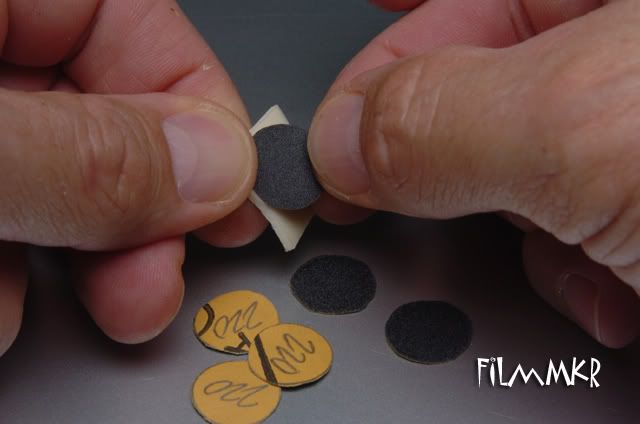
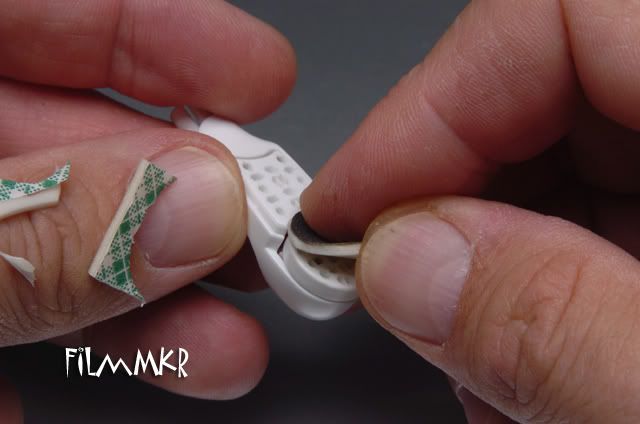
Peel the other side of the foam tape, apply to the toothbrush head, and voila! An instant, cheap, rechargeable sander!
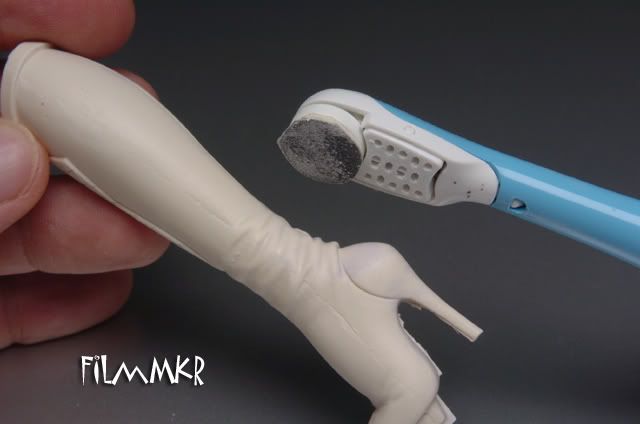
As I mentioned in the Tannis WIP thread, the nice thing about this sander (as opposed to a Dremel, for example) is the low torque and vibration. In addition, the foam tape allows a LOT of flexibility and give when working complex surfaces. (Note the inverse seam along her leg in this shot. This required a lot of careful - and judicious - sanding so as not to ruin the contour of her shapely leg!)
Well, that's all, folks! I hope that you enjoyed this thread and hopefully you too will add Filmy's toothbrush sander to your modeling arsenal!
FM
For those who have no idea what I'm talking about, you can see the initial WIP thread HERE.
Before I get started, I'd like to say that this was not my original idea. I learned it by looking at the pictures in a Japanese figure magazine called Replicant. I can, however, say that I modified the construction technique to fit the resources I had at hand and also to fit my particular workflow.
For my homemade sander, I bought an Oral B rechargeable toothbrush at Target for about twelve bucks, and a package of two additional heads for about five bucks. This is what the finished sander looks like, along with a set of replacement heads that I am going to use in this How To.
You can use any kind of cheap electric toothbrush actually - you aren't limited to just Oral B! Just be sure that it is 1) inexpensive, and 2) rechargeable (batteries get expensive and defeat the whole purpose of point 1!)
To begin, take a pair of needlenose pliers and pull out all of the bristles on the toothbrush head. Note that the bristles are in clumps - slide your pliers in between a set of clumps, grasp firmly, and rotate the pliers around an axis perpendicular to the bristle stalk - don't pull or the nylon bristles will slide out and you'll say a bunch of dirty words.
For the pack rats among us (you know who you are!), you can save the bristle stalks for future use. When painted they could make clumps of grass for that badass diorama, or individually as eyelashes for your ultra-detailed figure kits!
The bristles are held in place with these little metal inserts, which are pushed down into the holes and can make the bristles very difficult to remove. The white ones come out fairly easily, the blue ones are moderately easy, and the turqoise ones are a b*tch! This will take a while, so don't get frustrated if it doesn't happen in five minutes. Note that you do NOT have to remove the inserts (unless you want to, of course!)
Eventually you'll see the light at the end of the tunnel.
Cut out several discs of varying grits of sandpaper using a circle template sized to fit the round part of the toothbrush head. Since I use different grits, I label the discs so that I know what I'm using.
Stick one of the discs to a piece of foam tape (I use 3M foam tape for everything, including sticking parts to skewers and chopsticks for painting!) and cut around the circumference of the disc:
Peel the other side of the foam tape, apply to the toothbrush head, and voila! An instant, cheap, rechargeable sander!
As I mentioned in the Tannis WIP thread, the nice thing about this sander (as opposed to a Dremel, for example) is the low torque and vibration. In addition, the foam tape allows a LOT of flexibility and give when working complex surfaces. (Note the inverse seam along her leg in this shot. This required a lot of careful - and judicious - sanding so as not to ruin the contour of her shapely leg!)
Well, that's all, folks! I hope that you enjoyed this thread and hopefully you too will add Filmy's toothbrush sander to your modeling arsenal!
FM